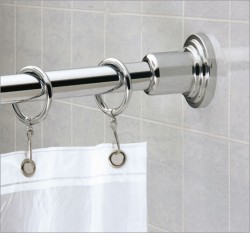
First step: Figure Out How High You Want The Shower Curtain Rod.
When you purchase a new set of shower curtain rods you are going to want to make sure that you follow the steps below to ensure that they are installed properly, and will not fall down on you when you least expect it.
Step #1: Figure Out How High You Want The Shower Curtain Rod – First you will need to take a look at your shower stall and determine exactly how high you want the new shower curtain installed. Most people will typically install the rod at least 3″ to 6″ above where the shower stall ends.
Step #2: Mark Where The Brackets Will Go Above The Shower Stall – Once you have determined the height of the new shower curtain rod brackets you will need to hold them against the wall and make a mark around them. This will be where you are going to put them back when you are ready to mount them.
Step #3: Begin Attaching The Brackets Onto The Wall At The Marks – Now you need to take the fasteners from the kit you were sent and put the brackets back onto the wall where you made your marks. Use the fastening screws to securely attach the brackets onto the marks and test them for their sturdiness.
Step #4: Insert The Ends Of The Shower Curtain Rods Into The Brackets – After the brackets for the new shower curtain rod are hung you will need to extend the shower curtain rod to fit the width of the shower. Insert both ends down into the brackets.
Step #5: String The Shower Curtain Rings Onto The Curtain And Rod – You can then begin stringing your shower curtain rings onto the rod and attach the shower curtain onto the rings after they are up. From this point you will want to test the sturdiness of the installation again.


